SMTP Relay
SMTP Relay can be used to send emails directly to external contacts, but only from networks (public IP addresses) that you have defined.
Using a connector as outlined below will pre-authorize mail sent from RentalPoint3 using Office 365 - see Microsoft help doc for more information
How to Set up a Connector
Open the Exchange Admin Center
Log into your Exchange Admin Center and navigate to Mail flow > Connectors

Click on  then complete the options as outlined below

Give the connector a name.....

Enter the IP Address of your server, then click next to create your connector
- Open a tab in google and type in 'what is my ip address' OR contact support@rentp.com for this information


Locate your SMTP Address
Once the connector is created, you'll need to grab the value from your MX record to use as your SMTP Server Address in RentalPoint
- Open the Microsoft 365 Admin Center
- Expand Settings and click on Domains
- Select your domain
- Click on DNS records

- Open the MX record (by clicking on it)
- Copy the 'Points to address or value field' - This will be the SMTP address you use in RentalPoint Operator Setup


Update your SPF Record
To prevent the mail from ending up in the spam folder, you'll need to edit the SPF record and add your static IP address. The SPF record identifies which endpoints (servers) are allowed to send emails on behalf of the domain - more information on SPF records
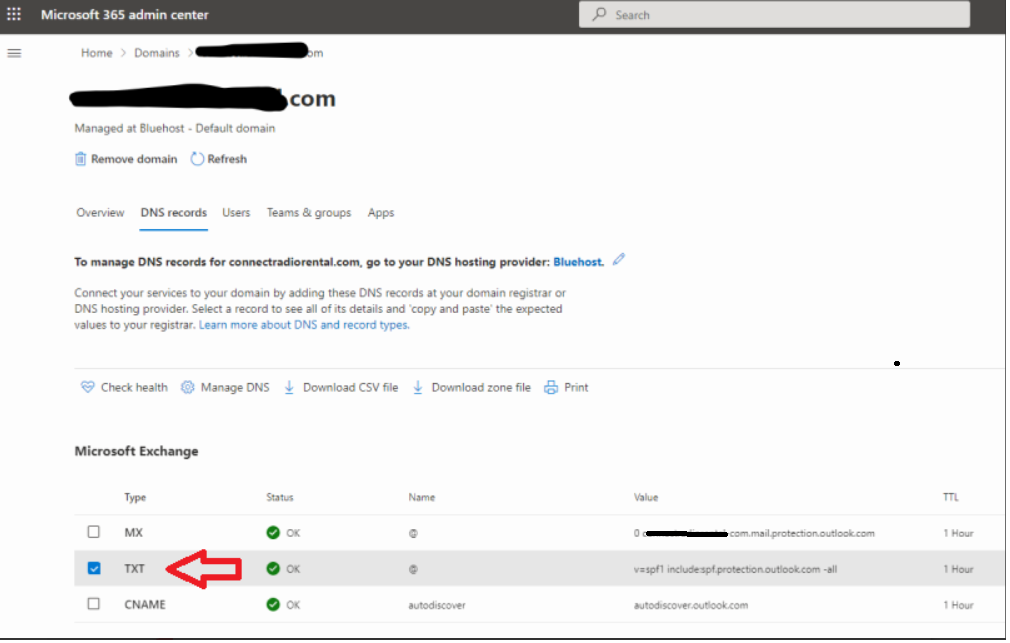
By default your SPF (TXT) Record looks like this: (Copy paste your default SPF record to notepad so as to preserve the original until your changes are verified.)

Then add the public IP of your server using an 'ip4:' prefix

Many ip4 addresses can be added if needed, each with their own ip4: prefix

Keep in mind that DNS changes can take a couple of hours to apply. But after that, you should be able to send emails using your newly created SMTP Relay Connection.