How to Export RentalPoint3 Accounts to QuickBooks Online
Once RentalPoint3 is configured to work with QuickBooks Online, every time you produce an invoice or credit, the information will be stored and ready to export to QuickBooks Online.
Use the steps below to export RentalPoint3 accounts to Quickbooks Online at whatever intervals you prefer.
Configuration steps are outlined further below. Contact support@rentp.com for assistance with configuration as needed.
Click Others-->Export to Quick Books

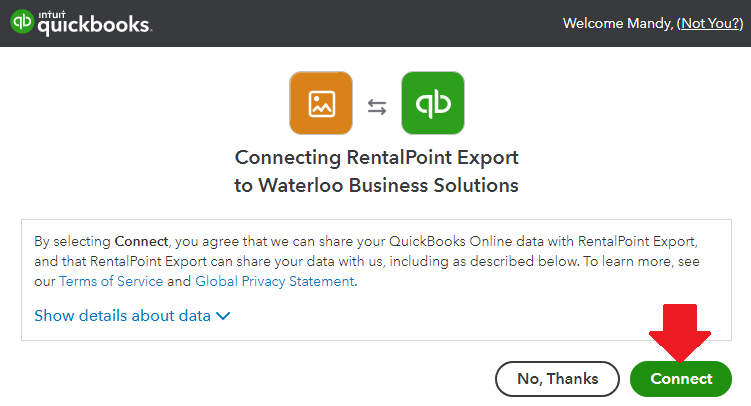
Then sign in to your Quickbooks account

Once sign is verified, you can Export to Quickbooks
You’ll see a report of how the information is processed and an ‘Export Complete’ message when the export is finished.
Sample Booking & Corresponding QuickBooks Invoice
Booking in RentalPoint

Invoice in Quickbooks once exported

Configuration
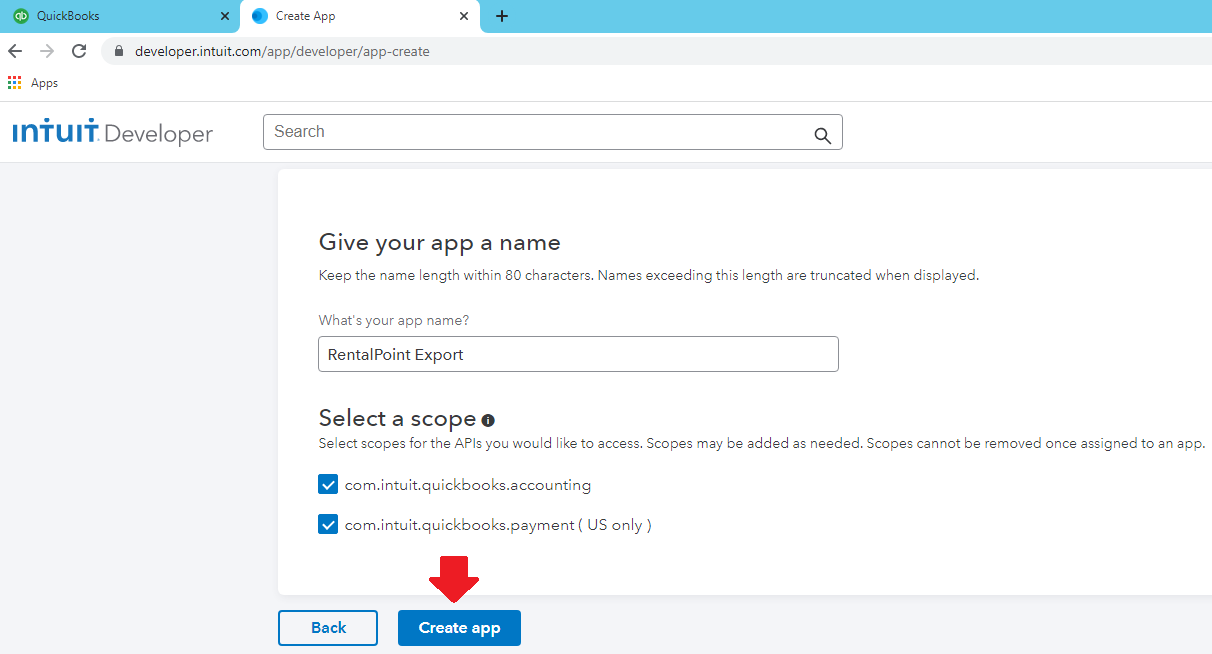
1. Create Quickbooks Online App Integration Keys
There are significant processing differences between QuickBooks Online "QBO" integration in RentalPoint2 and RentalPoint3.
Users MUST choose to use one option exclusively:
- Either set up your QBO integration for use in RentalPoint2 and print invoices from within RentalPoint2 menu options
- OR set up your QBO integration in RentalPoint3 and print invoices from within RentalPoint3 menu options.
Some of the screen displays may have changed since publishing of this article, however the information required should be the same.
https://developer.intuit.com/app/developer/homepage
General
On the developer homepage, click 'My Apps', or 'Dashboard' if 'My Apps' isn't an option
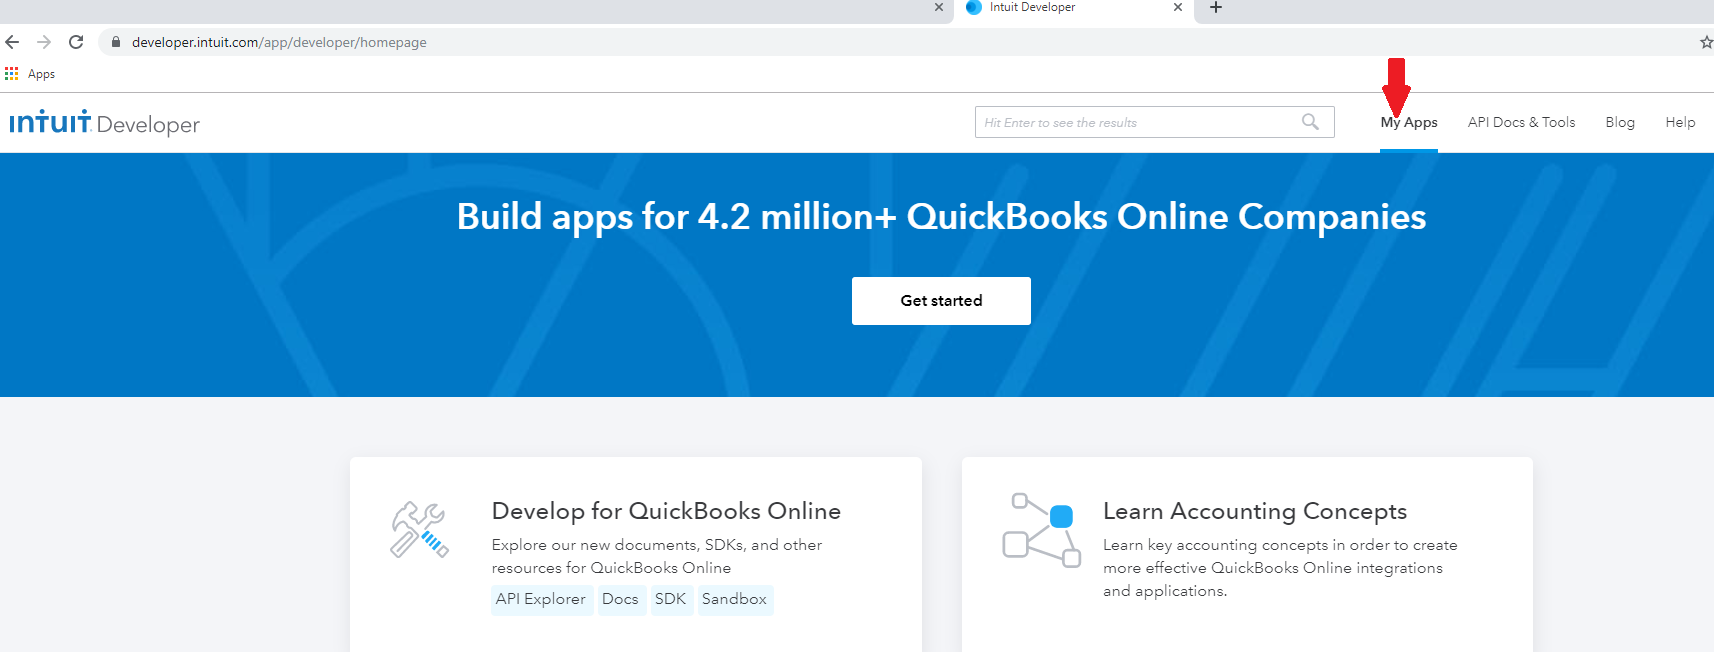

then 'Create New App'
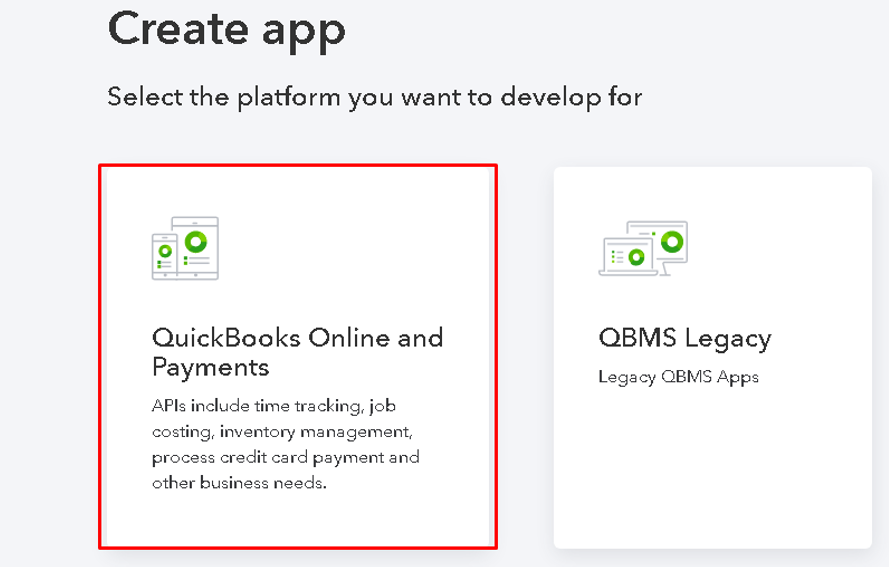

Or US version
You'll get an email from Intuit which you need to confirm in order to complete setup. Once confirmed you'll see a checkmark beside 'Verify your email address' below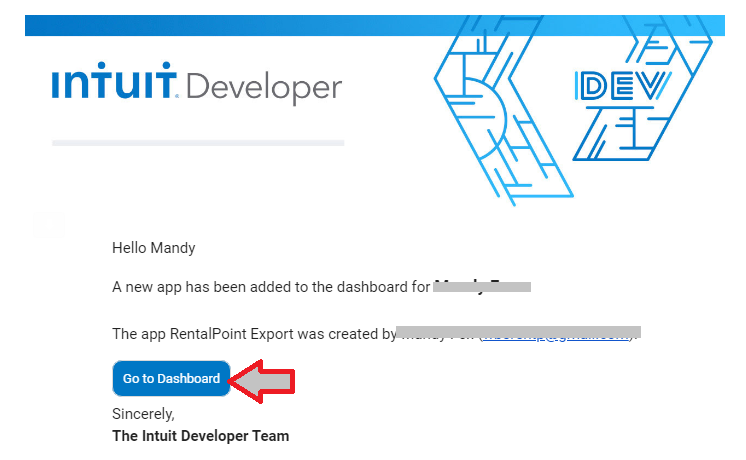
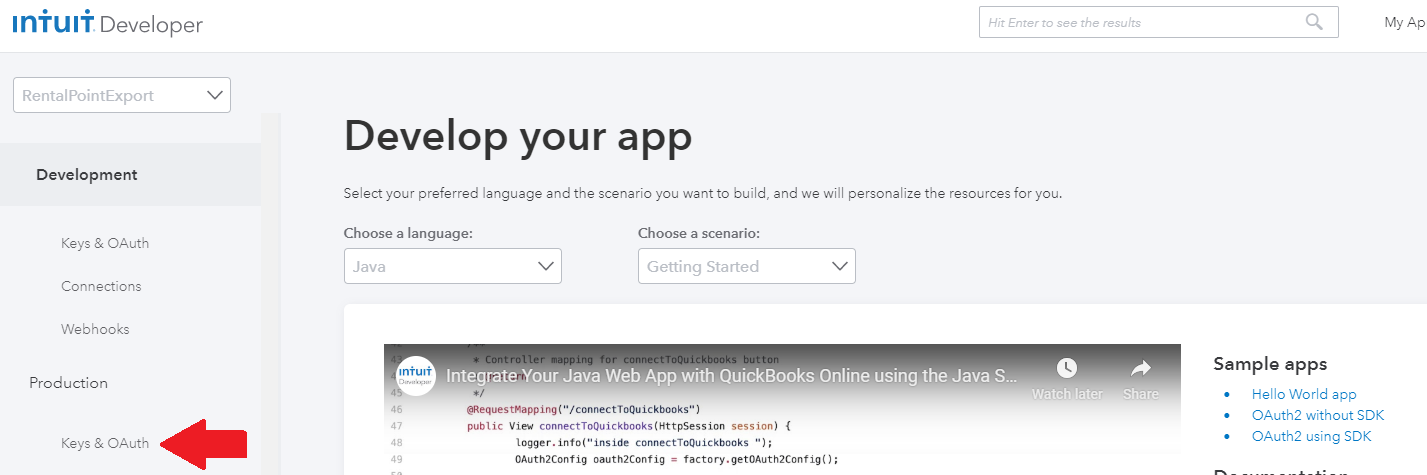
Click ‘Keys & OAuth’ under the Production label
Click on 'Complete your account profile', fill in the information required, then click <---- to return to the Production Keys requirements screen illustrated below.

Below are the suggested answers.


Once you've completed each section, you will see all check marks and should be able to proceed to the company questionaire. (for end user license, if you don't have a url, just use your company website, the link is not used to launch your app integration)

On the App Dashboard click on Keys and credentials to see your Client ID and Client Secret. You'll need to copy/paste these into RentalPoint Parameters once you've completed your Quickbooks setup, so either keep the page marked OR copy/paste them to a notepad file for easy access later.

Configure Re-direct URL
- On the bottom of the same screen (Production Keys & OAuth) for the app you just created,
- Enter your callback index using your server in place of 'server' and your port number (if used) in place of '99999'
- Enter the url for callback index and settings. These urls consist of 'https://' followed by the link you were provided to access rp3 followed by '/callback/index' and '/callback/settings'. Note the urls are case sensitive.
- Click save

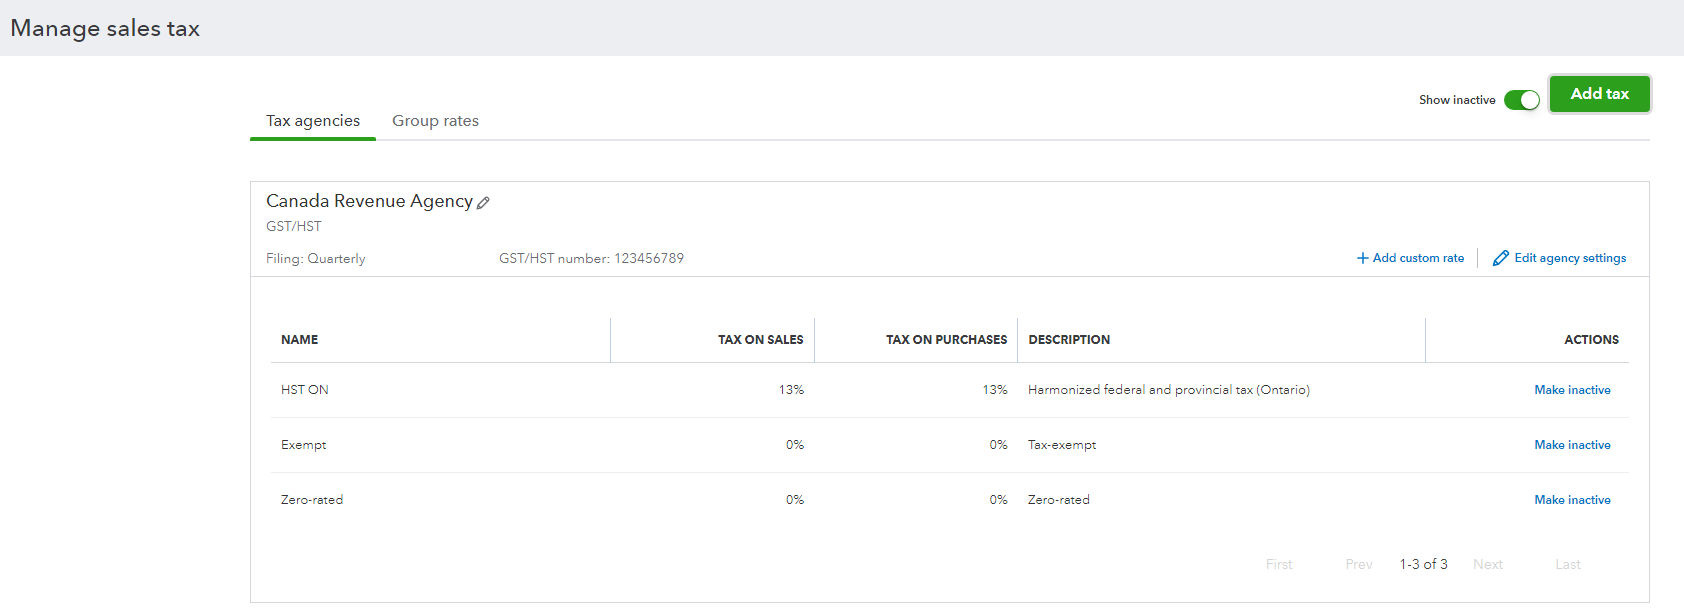
2. Set up Quickbooks Taxes
- Login to Quick Books, Add tax for Rentalpoint export
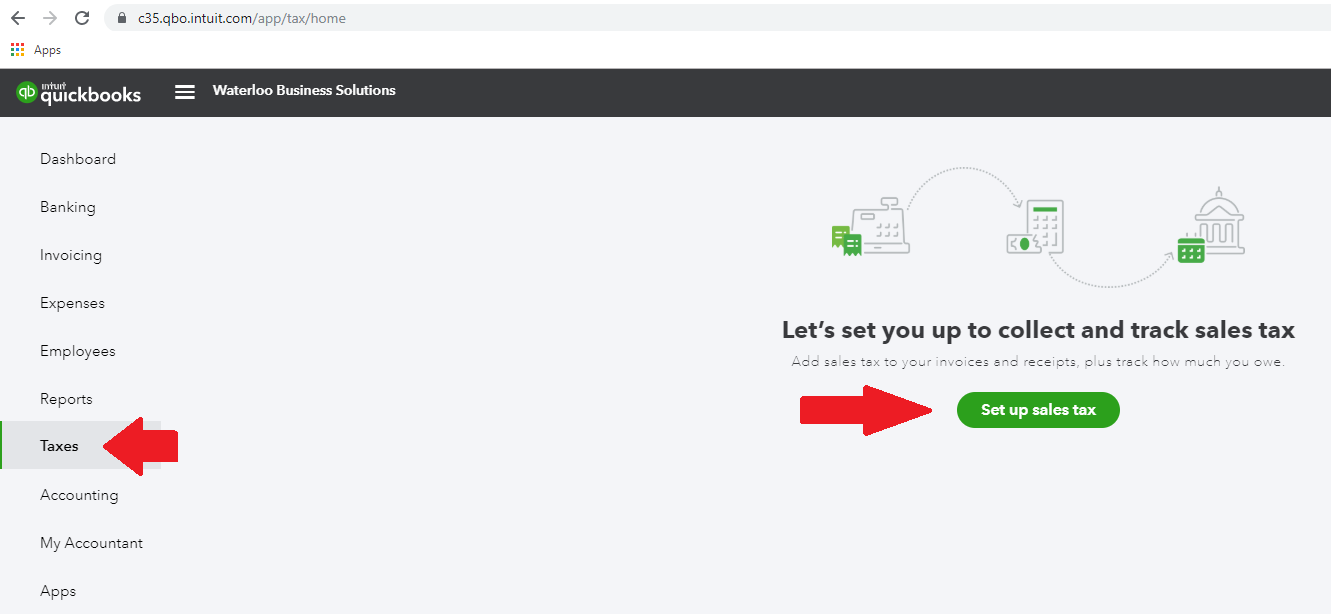
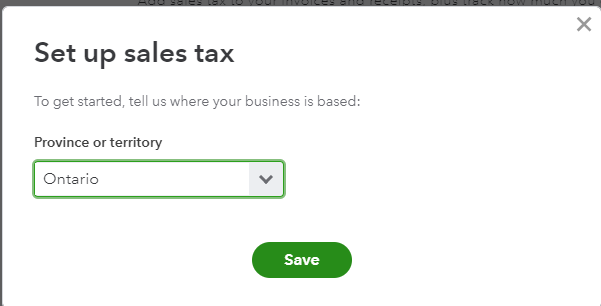
For example, choose Ontario & Quickbooks will automatically set up the relevant taxes
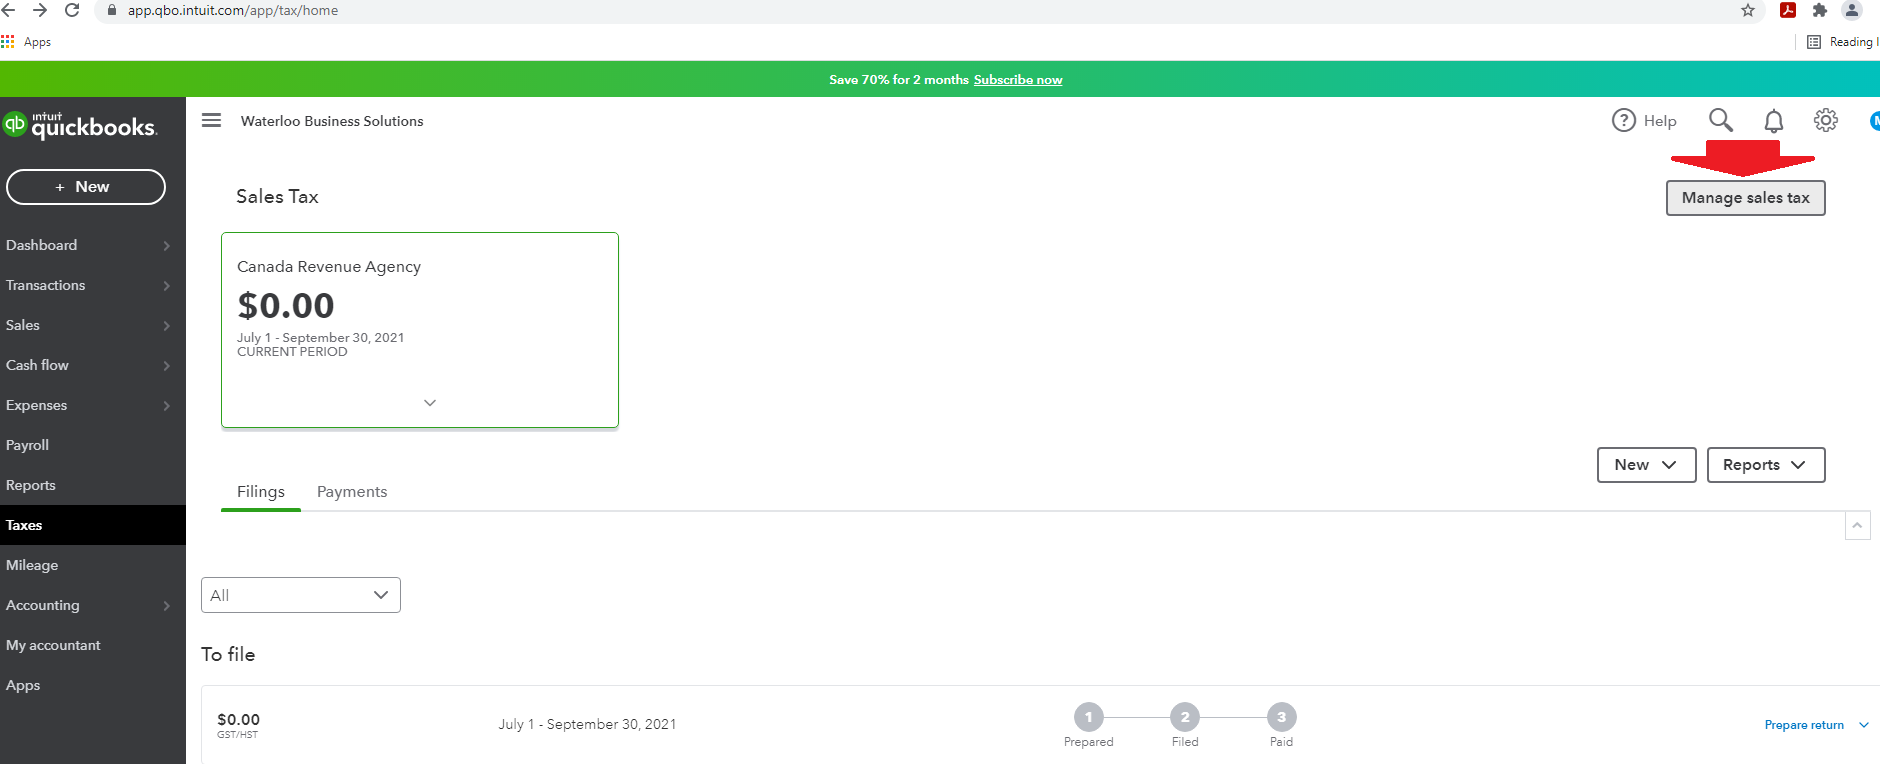
Relevant sales tax has been automatically set up, click Manage Sales Tax to see it....
3. Set QuickBooks Custom Transaction Numbers ON
Set Customer transaction numbers ON to ensure RentalPoint invoice numbers are used in Quickbooks

4. Set RentalPoint Integration Parameter
Email support@rentp.com with the keys generated from the above configuration. RentalPoint support will execute the steps below with you over a screen share as we will need you to input your login details to confirm the integration.
Once Quickbooks Online is configured for integration with third party software, proceed to setting up parameters below. If you skipped this step, see detailed instructions on how to configure Quickbooks Online in the section above.
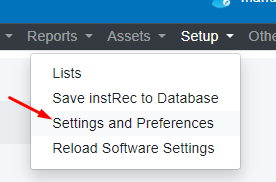
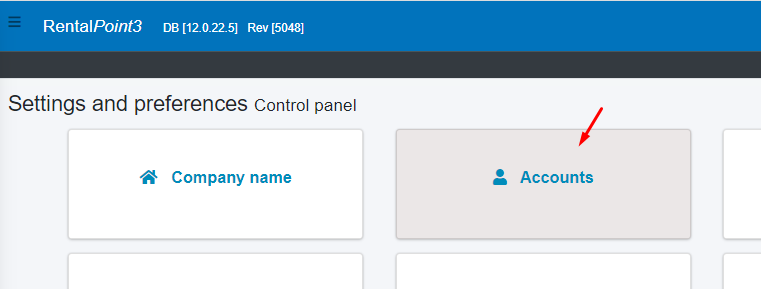
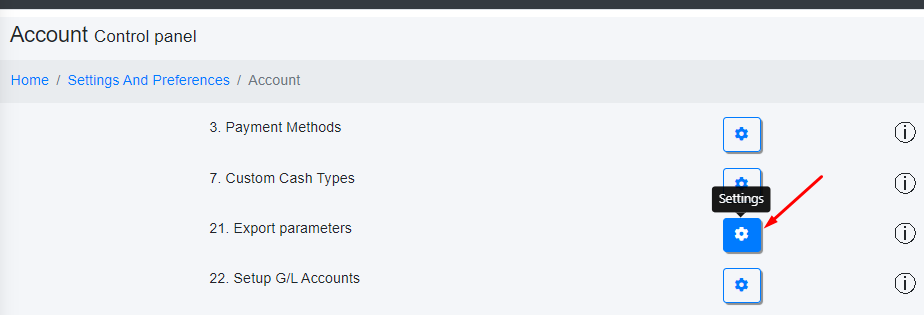
- Goto Setup-->Settings and Preferences-> Account Parameters 21 “Export Parameters”


Copy/Paste your Client ID and Secret to the 'company' section,

then ensure your Root URL is populated with your RentalPoint3 software link. Keep in mind the entries are case sensitive.
4b. Optional - Use a Separate QuickBooks Account for Different Locations
To use separate QuickBooks Accounts for some or all locations, check the box in parameter setup to 'Use Separate Accounts for each location'
Then save and reload software settings

Goto Location Setup to record QuickBooks Account connection details.


Sandbox is used for testing connection while Production is used for live QuickBooks accounts

Reload software settings again

Then print invoices as normal. Invoices for each location will be stored for export to QuickBooks
When Exporting to QuickBooks

Choose your location at the bottom of the window before exporting

Import Payments From QuickBooks
Invoices and Payments are recorded on the Financials tab of the booking
When a booking is paid in Quickbooks you can import that payment to RentalPoint

In order to import payments from Quickbooks, your software must already be set up to export invoices from RentalPoint to Quickbooks

Enter the warehouse out and in date range of the bookings you want to poll payments for.
Find the payment on the grid and click to import

Then check the bookings to see the payment information recorded.
Glossary:
Then add qb.redirect.me into your system hosts file on the workstation you will export from (you may do this on many workstations if needed)
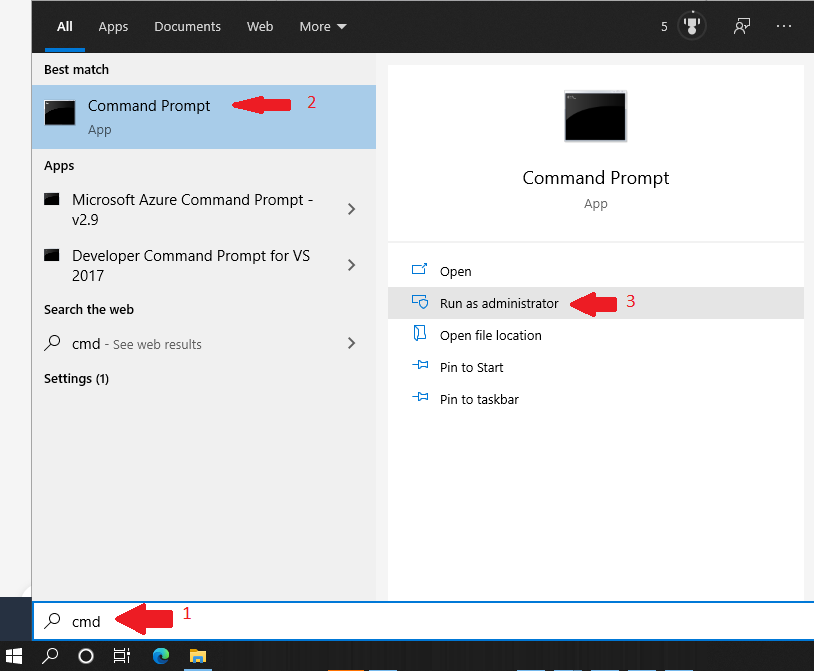
- Open an elevated command prompt
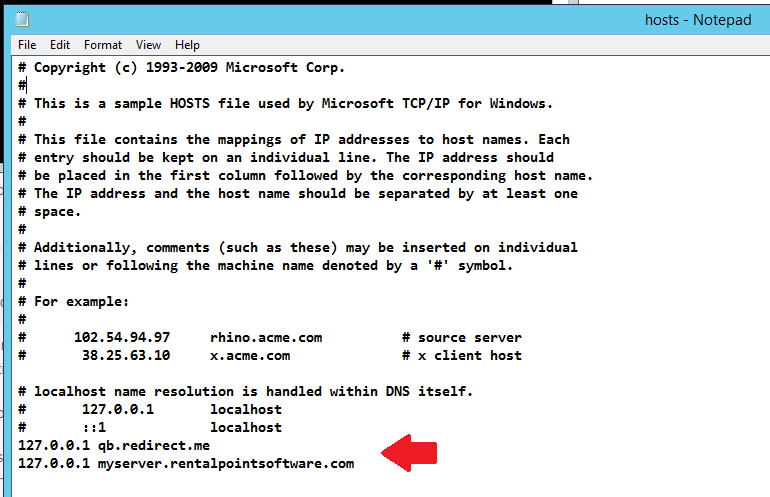
- Then type notepad C:\Windows\System32\drivers\etc\hosts

- Copy/Paste or type these lines into the file
- 127.0.0.1 qb.redirect.me
- 127.0.0.1 myserver.rentalpointsoftware.com where 'myserver' is the server name used for your RentalPoint3 access
- Save and exit the file <Ctrl S>


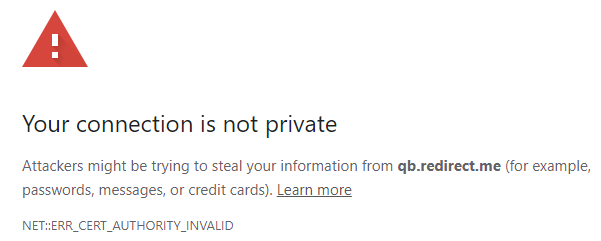
Add Security Certificate to Google
A security certificate has been provided as part of your RentalPoint Software installation. To avoid the message below, you'll need to install the security certificate with your Google Chrome browser settings.
Using Google Chrome
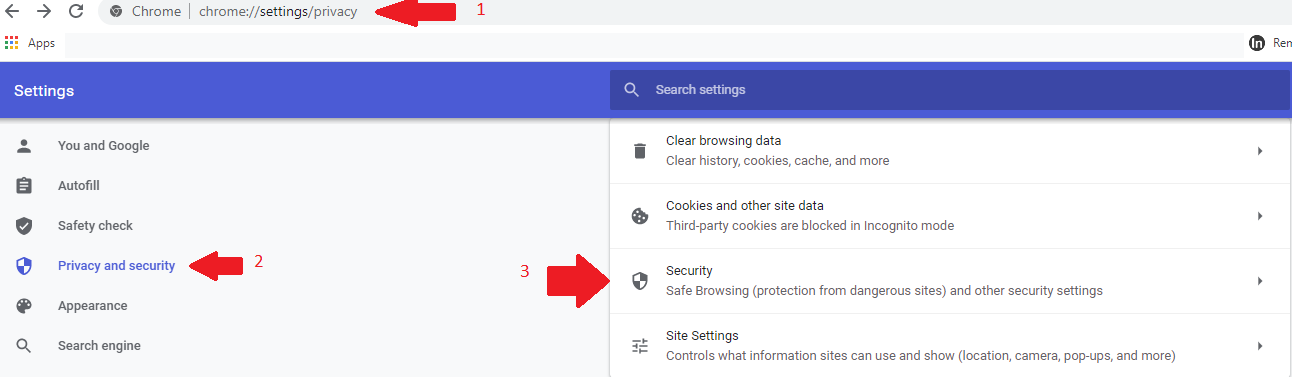
- open a webpage to chrome://settings
- then click Privacy & Security
- next click Security (Safe Browsing....)
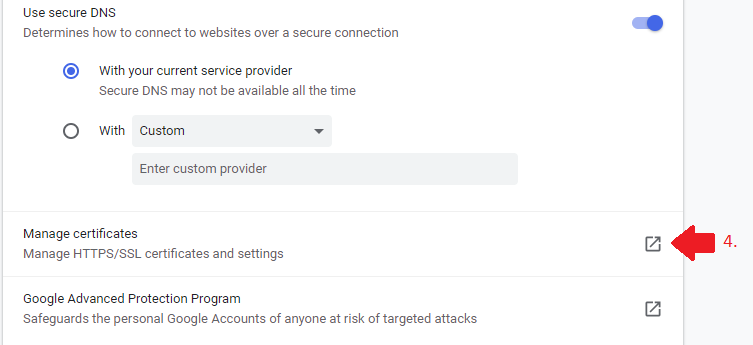
- Scroll down to Manage Certificates and click the icon to access
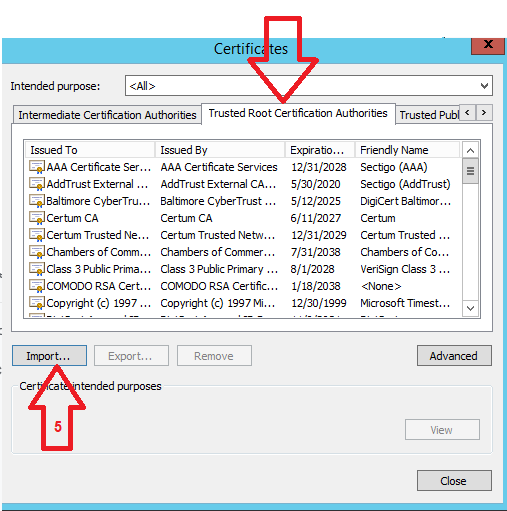
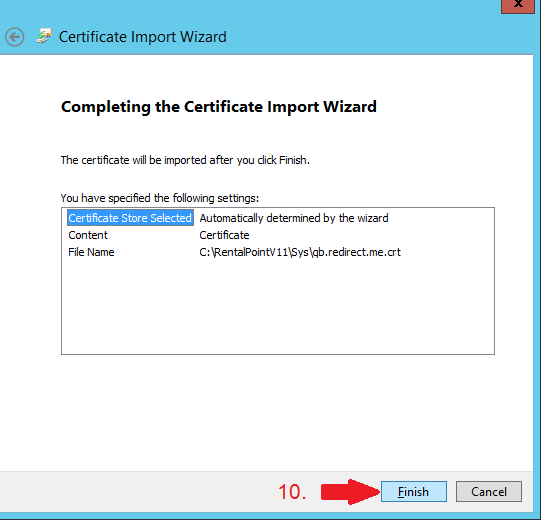
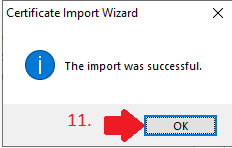
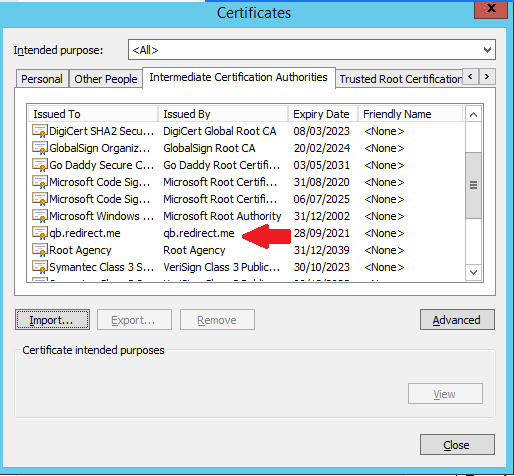
- Intermediate Certification Authorities, then Click IMPORT
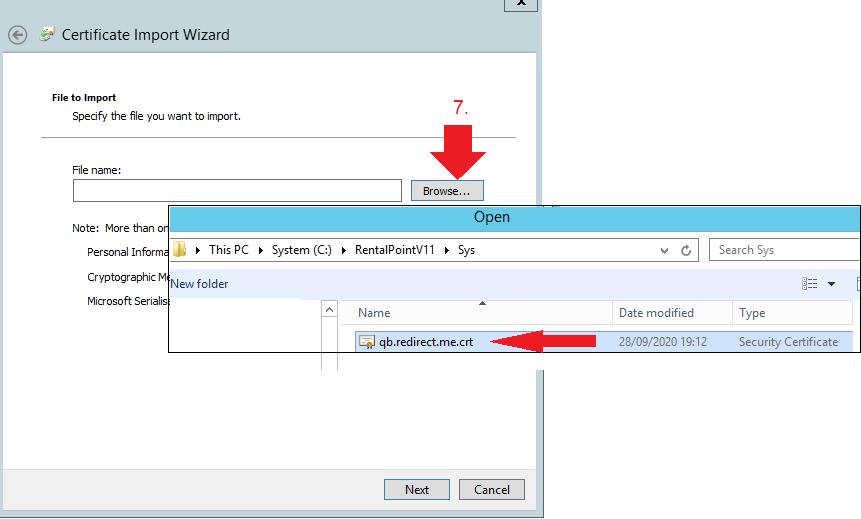
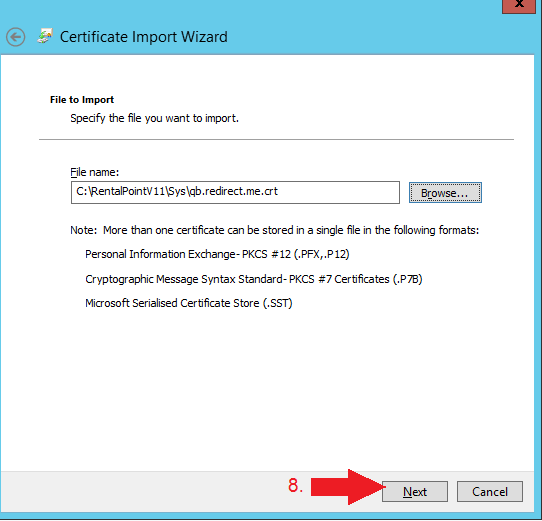
- Click NEXT to use the import wizard

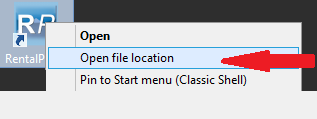
- Locate the file qb.redirect.me.crt in your RentalPoint\sys folder (If you're not sure where this is, right click on the icon you use to run RentalPoint and click 'open file location' to find out where RentalPoint was installed on your device.)


- Use Sandbox for a TEST account or QuickBooks trial. Use Production for live account
- Copy/Paste your ID, Secret and URL from your Quickbooks setup account.
- Check 'Allow invoice payment' if you would like your invoices flagged in Quickbooks for online payment.
- Some users send their invoices from RentalPoint to Quickbooks before sending the invoice out to the client from Quickbooks. These checkboxes allow you to set your Quickbooks invoice payment options during the import process
- Finally, click
 to pull your tax codes from Quickbooks and follow the online instructions to complete setup.
 to pull your tax codes from Quickbooks and follow the online instructions to complete setup.
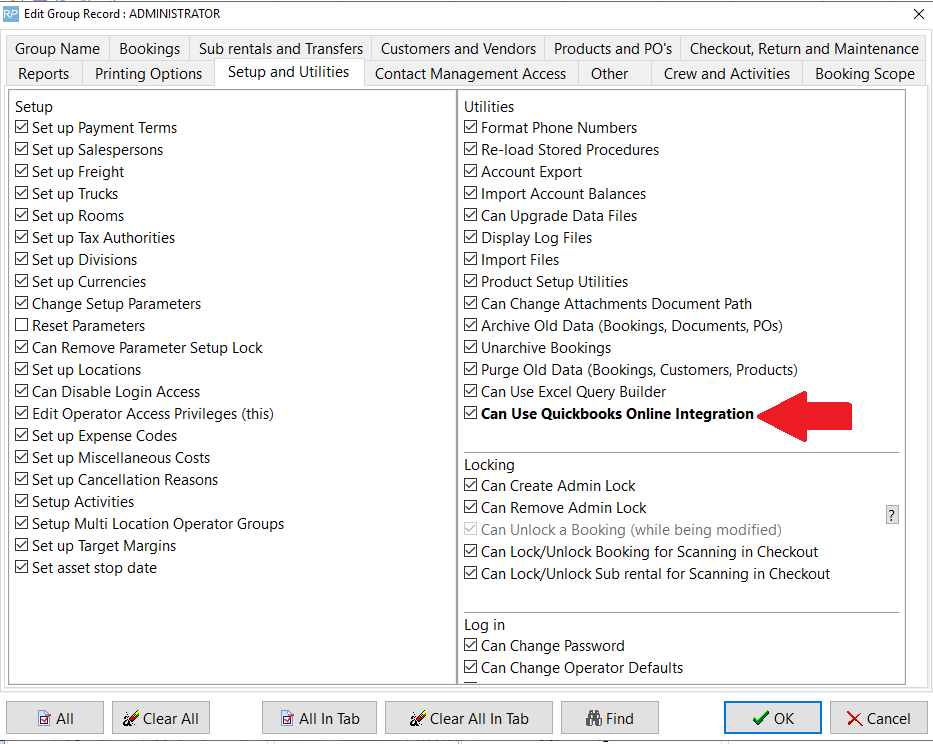
5. Grant Operator Privileges
'Can Use Quickbooks Online Integration' must be checked in users operator privileges in order to have the ability to Export Accounts to QuickBooks Online. Goto Setup-->Operators to grant the privilege or see your System Administrator for access