Invoicing can be customized with via Invoicing Parameters.
First highlight the booking on the booking grid, then access the 'Print' option from the right click menu

OR from the top menu bar

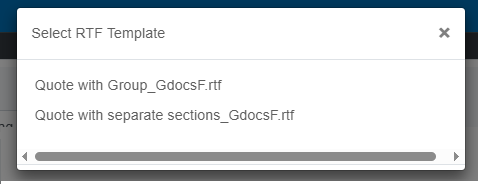
Click on the name of the template you would like to use and wait for the merge to complete

Once the document is merged and an invoice number assigned, you will see a 'Document has downloaded' message. Both a Word and a PDF version of the document have also been attached to the booking.

Sometimes users like to add some manual formatting to their merged document before sending it on to a client. To do this, check your downloads folder for the merged document and alter as needed.

To replace an attached document with a modified version, keep the filename the same, click NEXT and follow the onscreen instructions (screenshots below). If no modifications are needed, click CLOSE.
You can attach any document to the booking at any time from the 'View Attachments' window. If you attach a file that has the same name as an existing attachment, the file will be replaced.


Once the documents have been uploaded click the green checkmark  to exit.